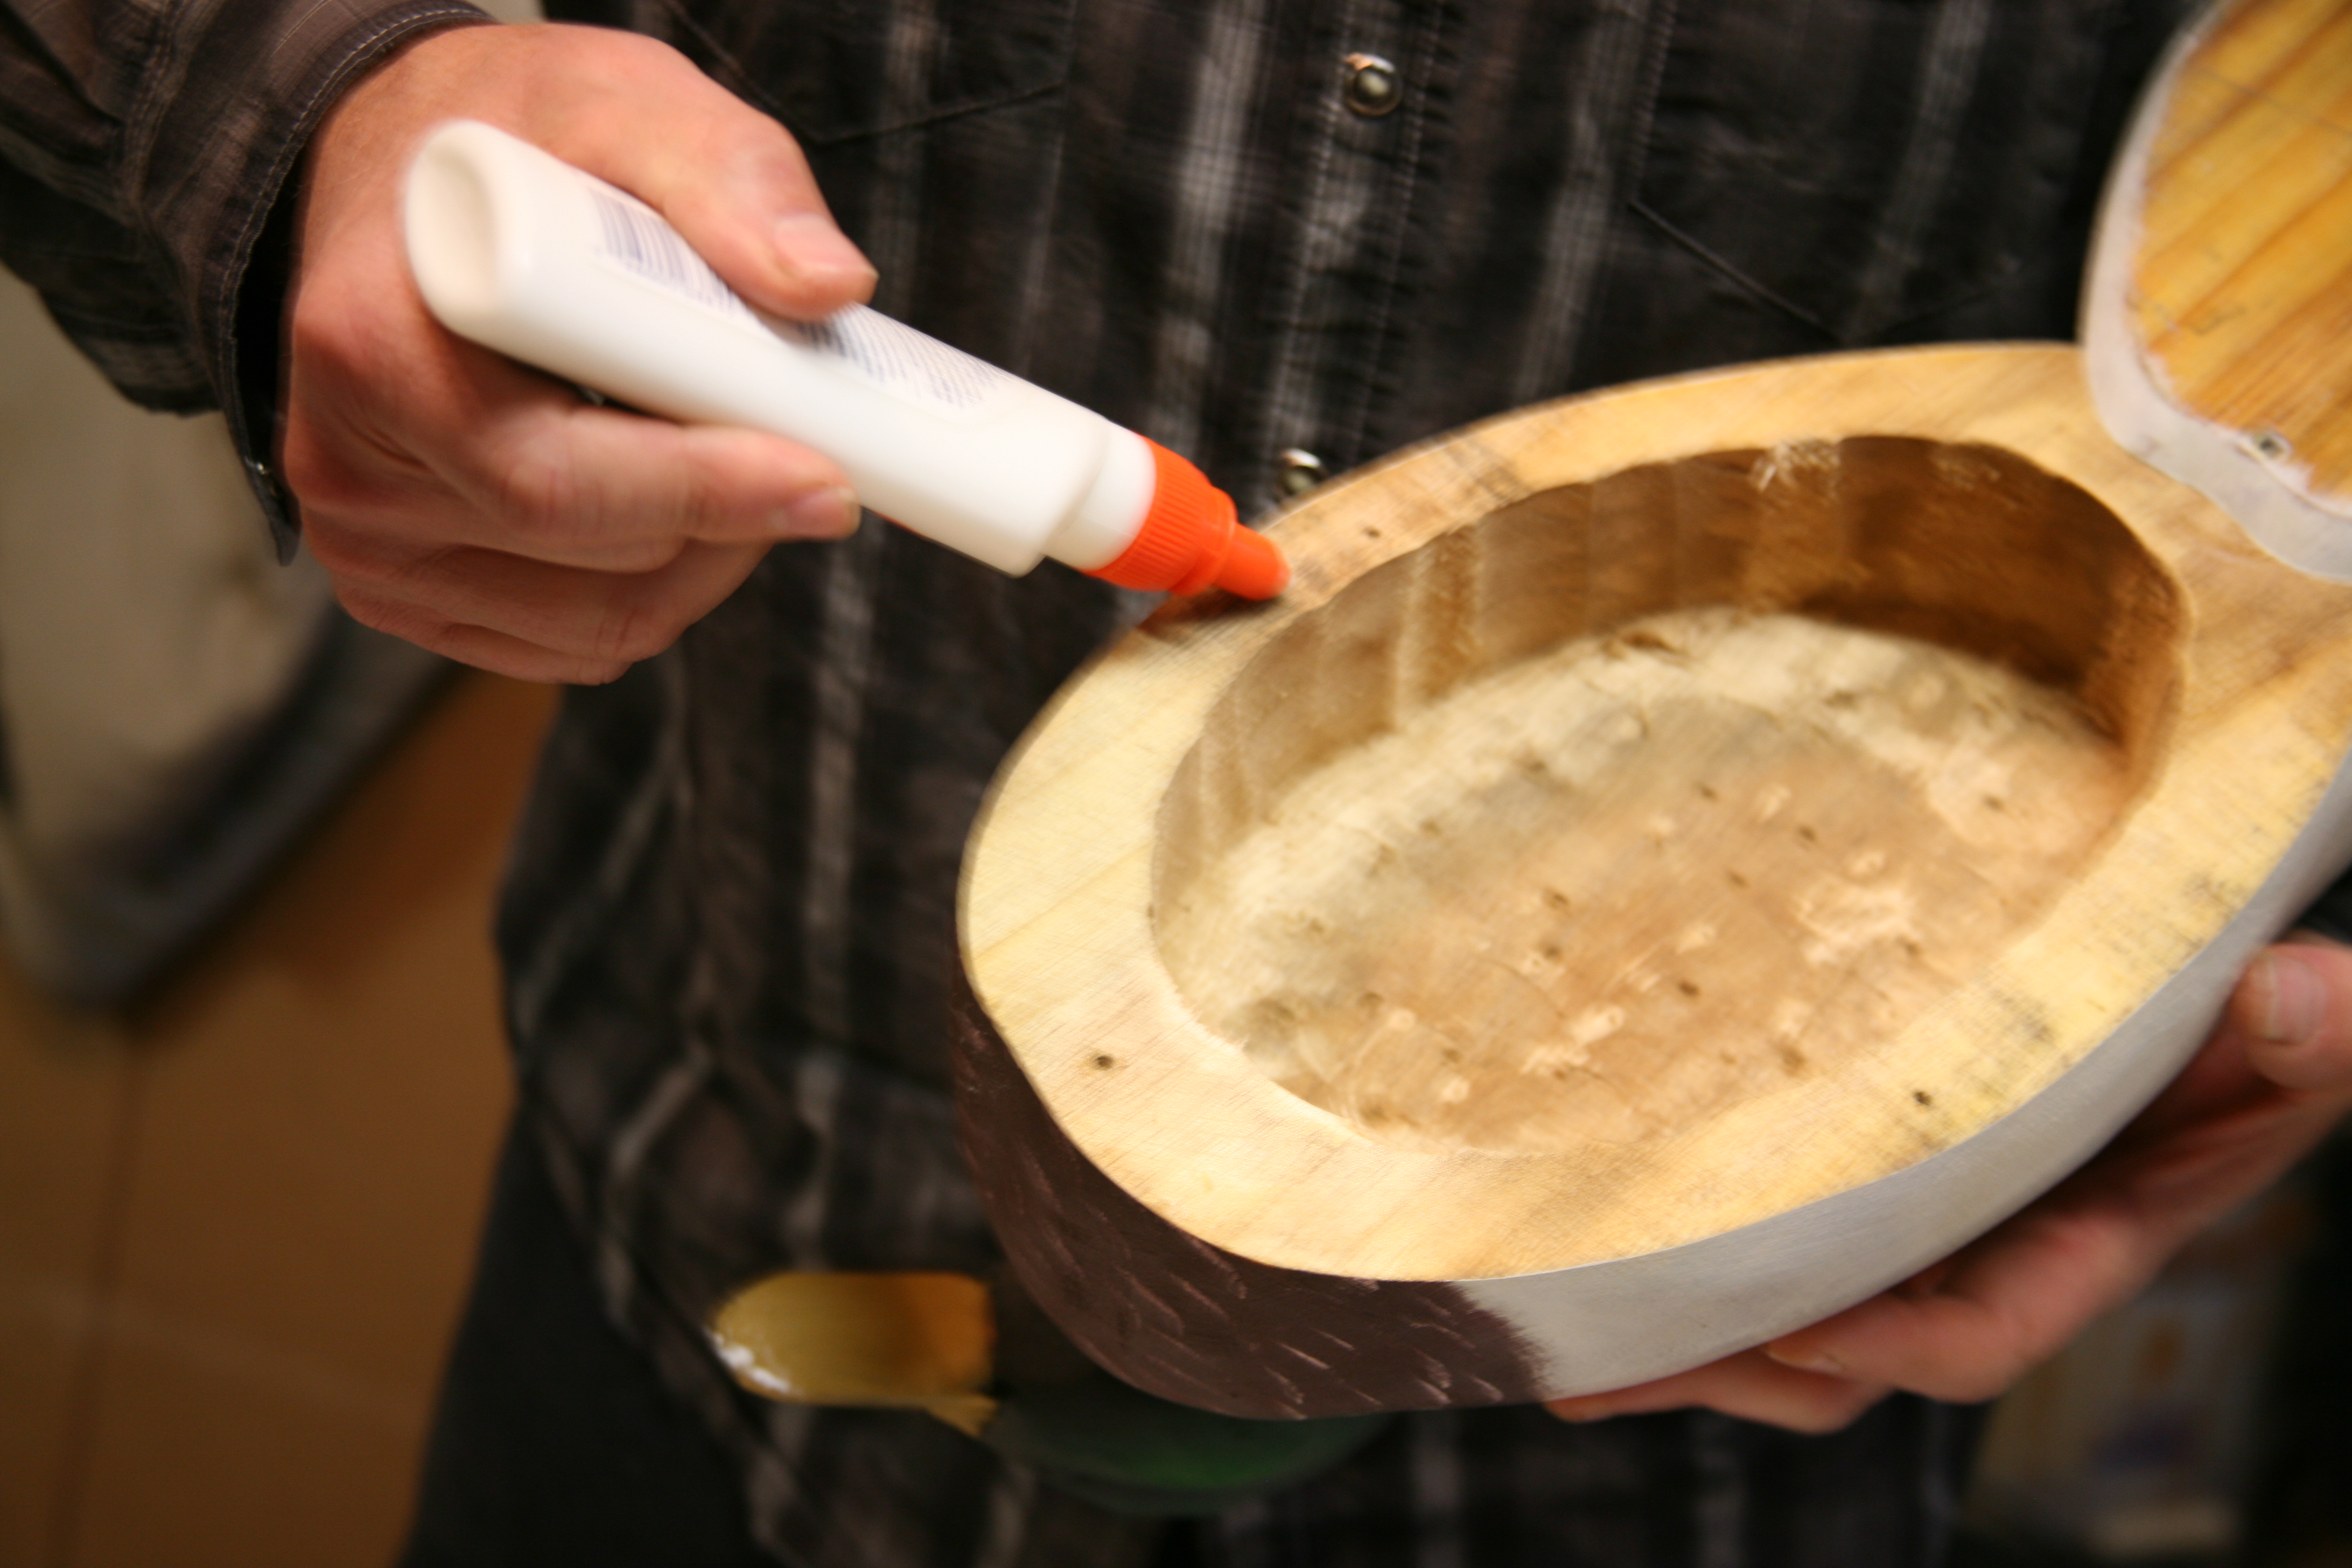
We hand carve these decoys, apply linseed oil to preserve the wood, and then hand brush on oil paints for a realistic and accurate finish similar to our wooden hunting decoys. Like all our wood decoys we use glass eyes in the head to add that extra touch of realism.
Decoys destined to be urns then have a hand fitted bottom board screwed in place. To access the storage area, remove the screws, place the bag of ashes inside and reseal the bottom board. Our wood decoys are hollowed from a single piece of basswood that results in a storage area of approximately 50 cubic inches. This may not be enough to contain all the ashes from your pet. Detailed instructions are available.
The dimensions of the drake mallard are 16” X 8” X 8”. The Mallard Urn measures 50 cubic inches. 1 cubic inch is equivalent to 1 pound live weight. The Canvasback Urn is slightly smaller.
We also include a brass plate with mounting screws that may be engraved by you and attached to the keel memorializing your pet.
You will be proud to display our Autumn Wings decoy urn in your home, office, or hunting lodge. Available in drake mallard or drake canvasback y. Autumn Wings has been hand crafting duck decoys for waterfowling enthusiasts since 1995.
Instructions for Decoys Urns
Thank you for purchasing the Autumn Wings hand carved wood Decoy Urn!
Here are instructions to how to use your Autumn Wings Decoy Urn:
 Step 1 – Open the base of the decoy by removing the screws holding the base on. Note the volume inside and use ashes in a storage bag that will not exceed that area. This will typically not be a large enough space to contain 100% of the ashes. Double bagging the ashes is recommended.
 Step 2- Hold the keel in place on the centerline line of the base marking the two mounting holes and drilling a 1/8” hole for the two keel mounting bolts provided. Place the bolt in the keel and attached the base using the nut provided.
 Step 2 (alternate)- Using the screws provided place the keel on the centerline of the decoy base and screw the keel in place. If you plan to hunt the decoy running a ribbon of glue under the keel first is recommended. If screws are used be sure to cover the two screw tips with the provided --- to prevent the ash bag from being punctured.
 Step 3- Place the bag of ashes inside the decoy body cavity. If you intend to hunt with this decoy run a band of waterproof wood glue around the bottom edge of the body before replacing the 4 wood screws mounting the base to the body.
 Step 4- Engrave the provided brass nameplate and using the screws provided attach it to the keel so it is visible when the decoy is in the provided stand.
Video & photos coming soon