The story behind the Series 72 decoy
Once upon a time the Herter's "family" in Waseca MN sat down to create the "ultimate" duck decoy. It needed to be
lightweight, unsinkable, and durable. They settled on a solid foam construction
and maybe because it was just over 7" wide they called it the Model 72
(Herter's Model 72 is a trademark of Cabela's last we checked) and it became
the favorite of serious duck hunters in many flyways for the latter half of the
20th century. Untold
thousands were sold in most any species of waterfowl that are hunted in North
America. Since the foam is subject to
breakage over time, they also added a burlap wrapped option to the line that
became a family heirloom for many hunters since they are virtually
indestructible. Sadly the production line
was halted a few years back.
The Autumn Wings Series 72
While paying
homage to the past, we take burlap wrapped foam decoys to a new level of
excellence by using our tried and true wooden decoy heads, signature keel, and
an upgraded airbrush paint job. We also tweaked the dimensions a bit to result
in a "chunkier" style reminiscent of our old Fat Boy cork decoys. We prefer the
stable platform and "content feeling" the 8" wide body affords. Since one of
the goals of our business is to create working decoys of style and character
that will be worthy of passing down to the next generation, there was no
question that we would wrap the solid foam bodies in burlap. This insures the
durability and longevity of the decoy without sacrificing its reasonable weight.
Series 72 decoys weigh about 1 lb. each;
this is 50% lighter than our equivalently sized wooden decoys. As a bonus, the burlap accepts paint well and
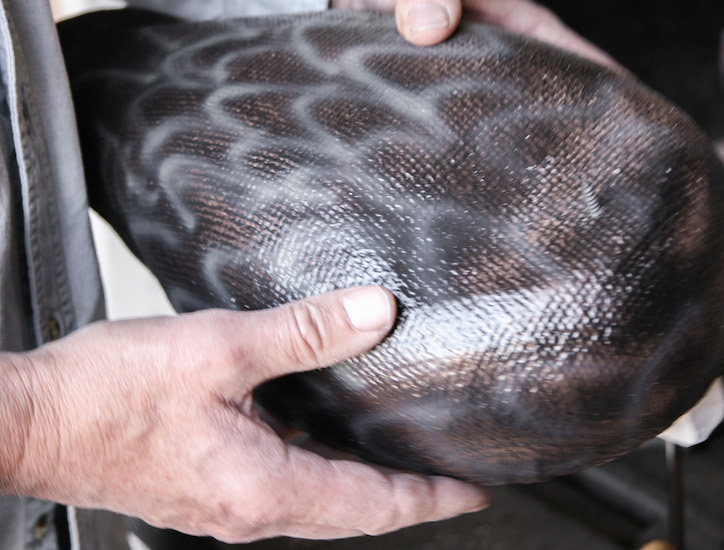
the coarse texture adds a realistic appearance that does not shine. We adapted our wood keel design to work with
the Series 72.
We have a
wide assortment of hand carved wood heads (with glass eyes) hand painted with
oils to support replacement or even to change up the species if you would like
to repaint our body to suit your requirements. In the interest of efficiency we
are starting with one diver body shape with multiple paint schemes (Bluebill, Can,
Redhead, Goldeneye, Ringneck, Scoter) and one puddler body shape and 3 paint schemes
(mallard, black, and gadwall) and now with market interest we have added the pintail, old squaw.
Product Details
7-Layers of Durability
Solid Foam Core
Cement
Burlap
Cement
Waterproof Coating
Paint
Clear Coat Sealer
Dimensions- Approximately 8" wide by 16" long
Weight- Approximately 1/ 2 lb
Durable hand carved wood heads with glass eyes. Linseed oil preserves the wood
followed by hand applied oils. The oils are drawn into the wood grain by the
oil for durability. Sure they may scuff up but that patina (and maybe a pellet
hole) adds to the character only your decoys will have! Heads are shipped
un-mounted with a wood screw instructions provided. Or see our "How to Mount
Heads" tab on the previous page. We provide an integral wood keel for wrapping
line and for applying any ballast weight you may require.
Disclaimer- Since Series 72 are not mass-produced but hand crafted some
variation is going to be observed between decoys of the same species. Guess
what, mother nature operates the same way; real ducks show even more variation
in size and color.Does that make us
more realistic? You decide.
How to mount heads to Series 72
Series 72 comes with wood screw to attach heads to body. This tutorial covers
using a crew to attach the head. Another option is a bolt and threaded insert.
For info on that see how to use threaded inserts on our website.
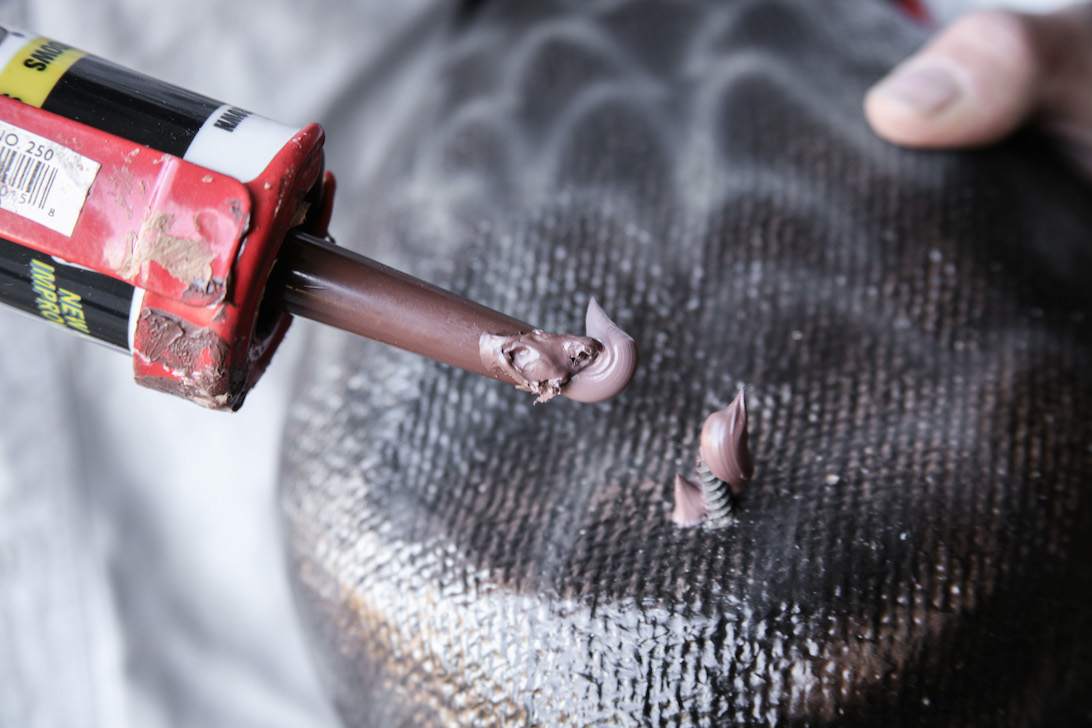
 1. Apply a small dab of waterproof sealer (silicone caulk) over the hole on the
top of the decoy body to keep water from penetrating. Use of adhesive will make
replacing heads in the future more difficult. 1. Apply a small dab of waterproof sealer (silicone caulk) over the hole on the
top of the decoy body to keep water from penetrating. Use of adhesive will make
replacing heads in the future more difficult. |
 2. Place wood screw in position so point protrudes 1/2" above the top surface
of the decoy body. 2. Place wood screw in position so point protrudes 1/2" above the top surface
of the decoy body. |
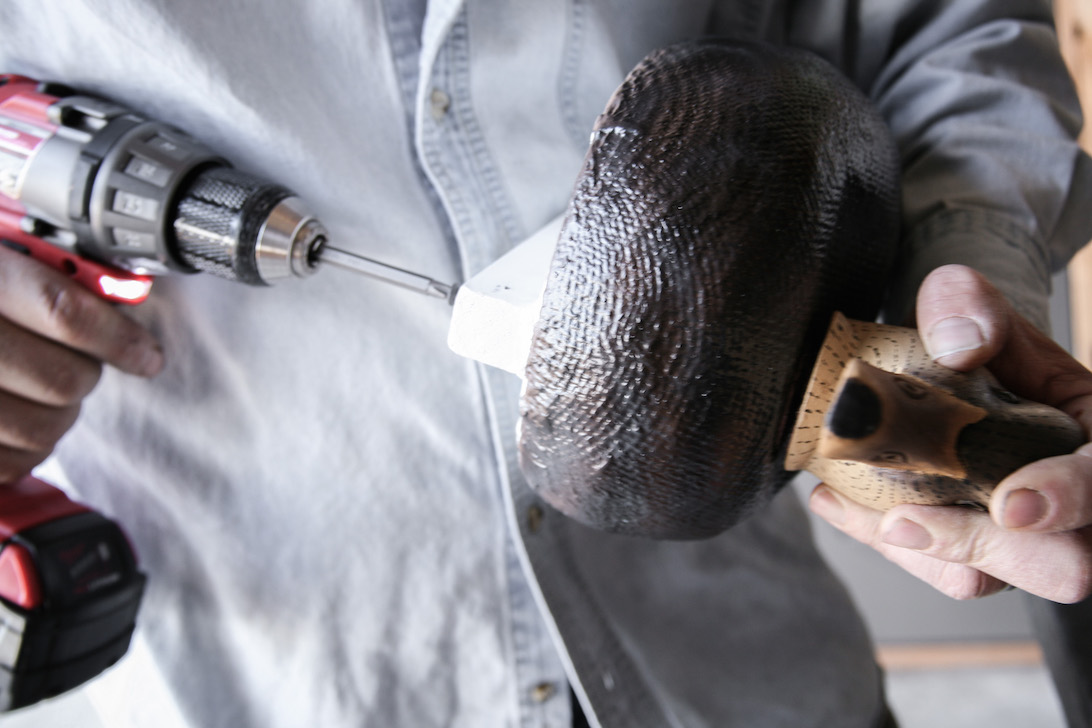
 3. Position head where you want it. Hold head securely while drilling screw in.
Tighten carefully so head is does not set into body too far. 3. Position head where you want it. Hold head securely while drilling screw in.
Tighten carefully so head is does not set into body too far. |
| 4. Alternate method is to first insert screw. Position head and push by hand to
create a "mark" from screw point. Remove head and drill a small pilot hole.
Then add sealer and screw head into position. |
Video & photos coming soon