How to use Threaded Inserts
Autumn Wings replacement duck decoy heads are easy to install on many
brands of decoy bodies by using a threaded insert. You can purchase threaded inserts from Autumn Wings.
Materials Needed:
- Drill
- 5/16” drill bit
- 6” ¼-20 eye bolt
- Threaded insert (1/4”-20 inside thread, 1” long)
- Hex Key to fit insert
- Gorilla Glue (other wood adhesive)
|
|
|
|
|

Step 1: Mark the 5/16" drill bit to indicate the depth of the threaded insert using masking tape.

|

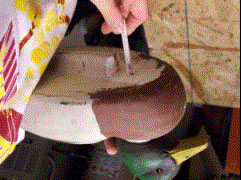
Step 2: Align the head on the decoy where you want
it, using a long pencil, mark the center of the hole where you will
attach the insert.
|

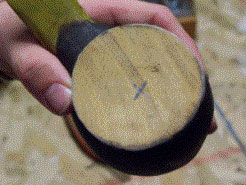
Step 3: Using your pencil, you will want to more clearly indicate where your pencil mark is from Step 2.
|

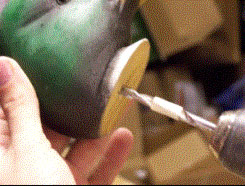
Step 4: Using the marked drill bit, drill a hole in
the head, going only as deep as the masking tape you gauged in Step 1.
This will allow clearance for the eye bolt that sticks out of the top of
the decoy. Use care to insure that you keep the hole straight and
square or your head will not sit square on your decoy.
|

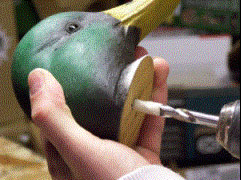
Step 5: Using the 5/16" drill bit, drill the hole for the insert. Again, only go as deep as the masking tape you gauged in Step 1 or the depth the hole need to be to allow the eyebolt up into the head.
|

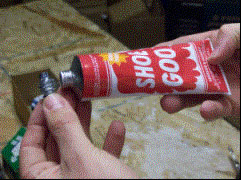
Step 6: Place a small amount of adhesive on the
insert. It doesn't take much adhesive and most will squeeze out when you
screw in the insert.
|

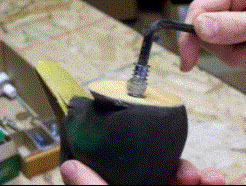
Step 7: Using the hex key, screw insert into head
until the insert is flush with the base of the head. Clean off any
excess adhesive that squeezes out.
|

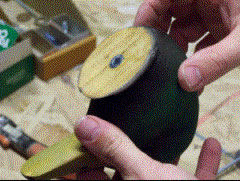
This is what the insert will look like once it is in the head, you are now ready to attach the decoy.
|

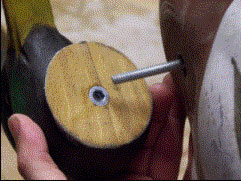
Step 8: Line up eye bolt and head and screw eye
bolt into head. Tighten until washer begins to indent foam on bottom of
decoy. Make sure you hold the head stationary and turn the eye bolt. DO
NOT turn the head as you will scratch the paint on the decoy.
|
|
|